
How to Build a Gravel Pad for a Shed or Garage
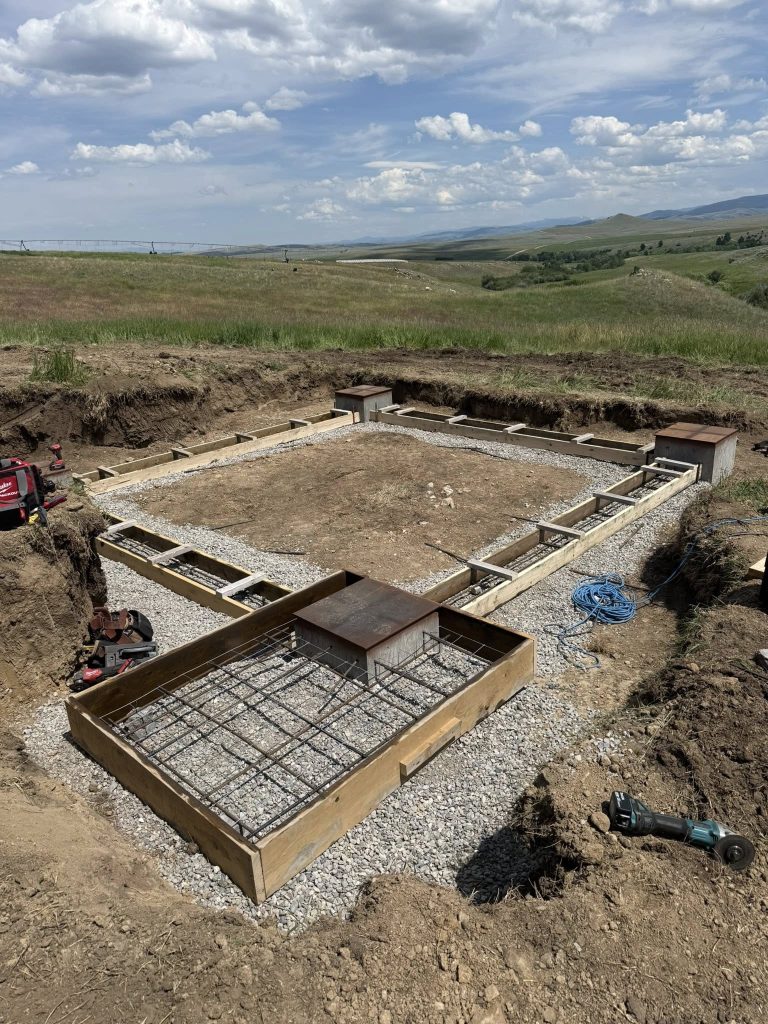
A gravel pad provides a stable, level base for a shed, garage, shipping container, or small building. Done right, it prevents settling, improves drainage, and protects your structure for years to come. Whether you’re building on flat pasture or a sloped Montana hillside, here’s how to construct a proper gravel pad that will last.
Step 1: Choose the Right Location
Pick a site that’s as level as possible, with good drainage and easy access. Avoid low spots that hold water or areas near tree roots that may shift over time.
- Maintain setbacks from property lines and utility easements
- Consider sun exposure if using the pad for a greenhouse or workspace
- Allow clearance for delivery trucks or equipment access
Step 2: Mark and Measure
Stake out the exact pad size, adding 1 to 2 feet beyond the footprint of the shed or garage on all sides. This gives you room for runoff and maintenance.
- Use a string line and tape measure to square the corners
- Mark the boundary with spray paint or flags
Step 3: Excavate the Area
Dig down 4 to 12 inches, depending on your soil type and how much elevation you need. Remove topsoil, roots, and debris to expose solid subsoil. In wet or clay-heavy areas, deeper excavation may be needed for drainage layers.
Step 4: Add a Fabric Layer (Optional but Recommended)
Landscape or geotextile fabric placed at the base helps separate gravel from soil and reduces future sinking or mixing. It also improves drainage and prevents weed growth.
Step 5: Install the Gravel Base
Use crushed gravel with a mix of sizes (often called ¾ inch minus or road base). Spread in 3 to 4 inch layers and compact each one thoroughly using a plate compactor or roller. A proper pad usually includes:
- 4 to 8 inches of compacted gravel for standard sheds or small garages
- Up to 12 inches for heavy equipment or storage containers
Step 6: Grade and Finish the Surface
The pad should be level, but not flat. Create a slight crown or slope (1 to 2 percent) to allow rainwater to drain off. Tamp or compact the final layer for a firm, even finish. Check your work with a long level or laser level to ensure accuracy.
Tips for Montana Conditions
- Plan for frost: Use well-draining gravel to reduce heaving in winter
- Watch for wind: A level, compact pad helps anchor sheds in exposed areas
- Snow melt: Build up slightly above surrounding grade to avoid spring runoff pooling
Conclusion
A gravel pad is a smart, low-cost foundation solution for many rural projects. With proper excavation, compaction, and drainage planning, your pad will stay level and strong through years of Montana weather. If unsure about slope or soil stability, working with a professional excavation contractor can give you peace of mind and a solid start.